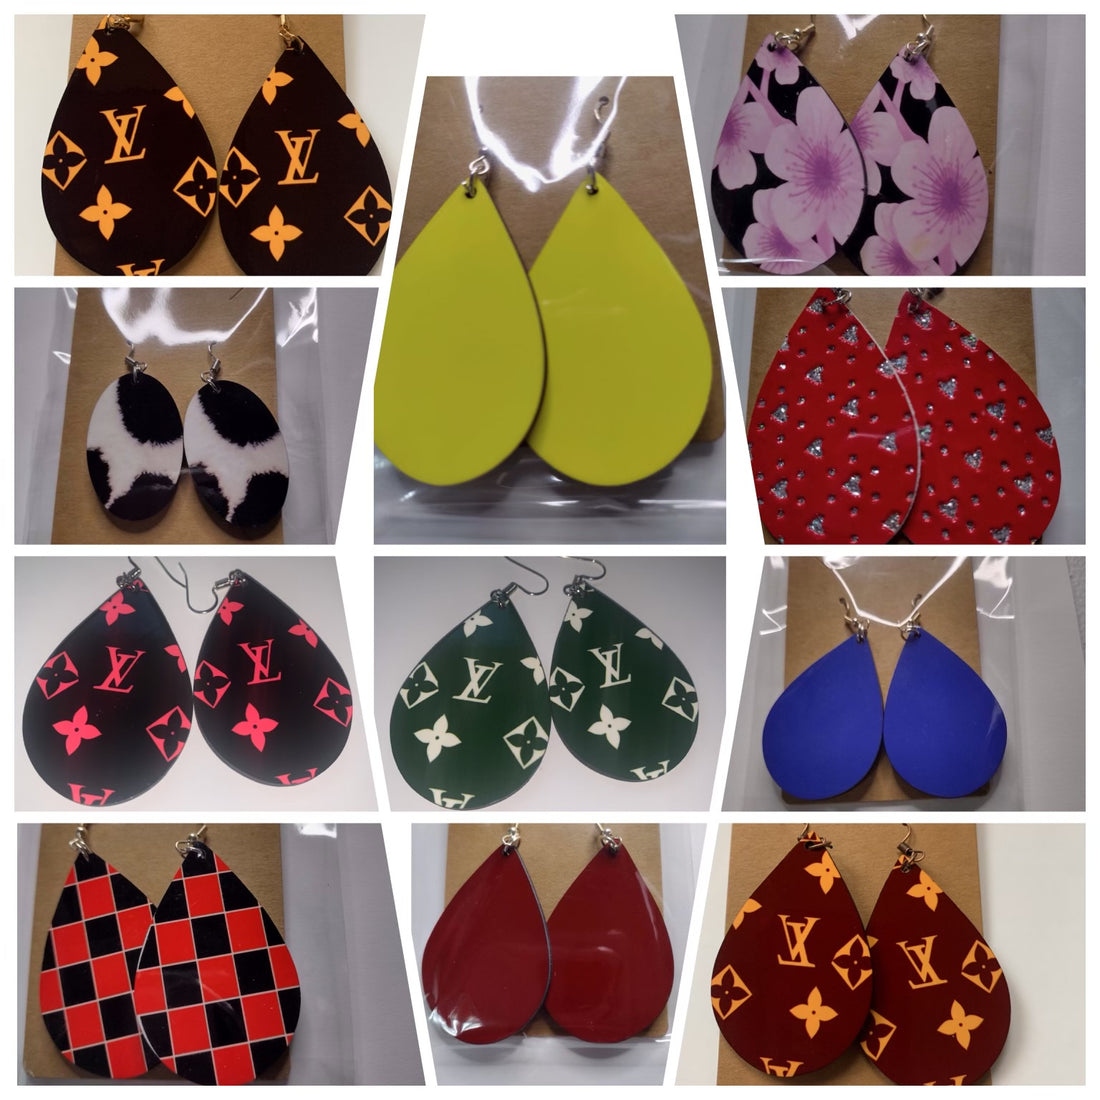
The Ultimate Guide to Creating Sublimation Earrings
Creating sublimation earrings is a fun and creative way to express your style or even start a small business. With the right materials and techniques, you can make stunning, personalized earrings that are sure to turn heads. Experiment with different designs and colors to create unique pieces that reflect your personality!
Sublimation paper
- Heat press machine (for small items or heat press for mugs can work too)
- Heat-resistant tape
- Scissors or paper cutter
- Teflon sheet or protective paper (optional)
- Earring hooks or studs
- Small pliers (for attaching earring hooks)
Step-by-Step Instructions:
1. Prepare Your Design
- Create or choose your design using graphic design software like Adobe Illustrator, Photoshop, or free software like Canva.
- Make sure the design fits the shape and size of your earring blanks. Typically, you’ll want to measure the size of your earring blanks and create a design that is slightly smaller than the blank.
- Mirror the image before printing (this is especially important if your design includes text).
2. Print the Design
- Load your sublimation paper into your sublimation printer.
- Print your design onto the sublimation paper using sublimation ink. Remember to select the correct paper and printer settings for sublimation printing (such as "best quality" and ensuring you have the proper color settings).
- Allow the print to dry completely before moving to the next step.
3. Cut Out the Design
- Use scissors or a paper cutter to cut out your design. Make sure to trim it to fit exactly the size of your earring blanks.
4. Prepare the Earring Blanks
- Make sure your sublimation blanks are clean and free from dust or oils. Wipe them down with a lint-free cloth or a microfiber towel.
- If your blanks have a protective film on them, carefully peel it off.
5. Position the Design on the Blank
- Place your printed sublimation paper face down onto the sublimation earring blank.
- Use heat-resistant tape to secure the design in place. Make sure the design doesn't shift during the heat press process.
6. Heat Pressing
- Preheat your heat press to around 375°F (190°C). Check the manufacturer's recommendation for your specific blanks, as temperatures and times can vary.
- Place the earring blank (with the design taped on) onto the heat press platen.
- Cover it with a Teflon sheet or parchment paper to protect the design and your heat press.
- Press the blank for 60-90 seconds. You may need to experiment with the time depending on the type and thickness of the sublimation blank.
7. Remove and Cool
- Carefully remove the earring blanks from the heat press using heat-resistant gloves or tongs (they will be hot).
- Let them cool down to room temperature. Be cautious while handling them to avoid smudging the design.
8. Attach Earring Findings
- Once the sublimation process is complete and the earrings are cool, it’s time to attach the earring findings.
- Use small pliers to open the jump ring of an earring hook and attach it to the hole at the top of the earring blank.
- Close the jump ring securely, and repeat for the second earring.
9. Finishing Touches
- Inspect the earrings for any imperfections or smudges. If everything looks good, you're ready to wear or sell your custom sublimation earrings!
- Optionally, you can add a small protective coating to the surface of your earrings for extra durability, though this isn’t always necessary.
Tips:
- Test with scrap materials first: If you're new to sublimation, consider testing with scrap materials to perfect your time, temperature, and design placement before creating your final earrings.
- Customization options: You can mix and match different designs or materials, like acrylic blanks, wood, or ceramic, as long as they’re designed for sublimation.
- Be mindful of the sublimation ink’s heat transfer process: The colors will shift slightly during heat pressing, so it’s important to check your prints on scrap materials first.
With practice, you can create beautiful, one-of-a-kind sublimation earrings in any design you choose!
